
The Best Turkey Brine Recipe: Thanksgiving Mastery Unleashed
A Step by Step Guide to the Best Turkey Brine Recipe that will leave a lasting impression
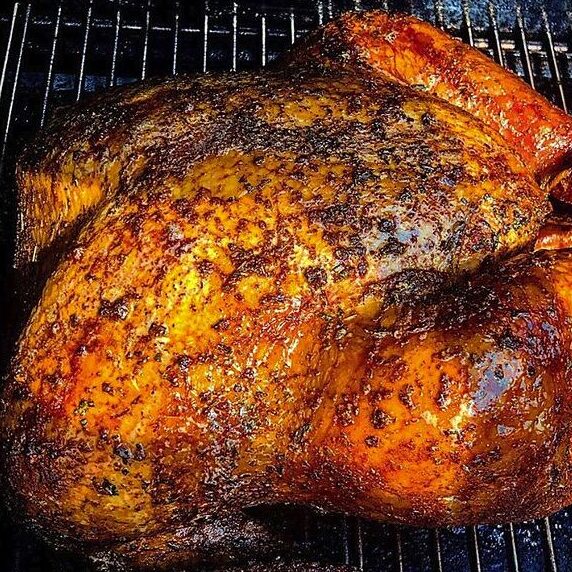
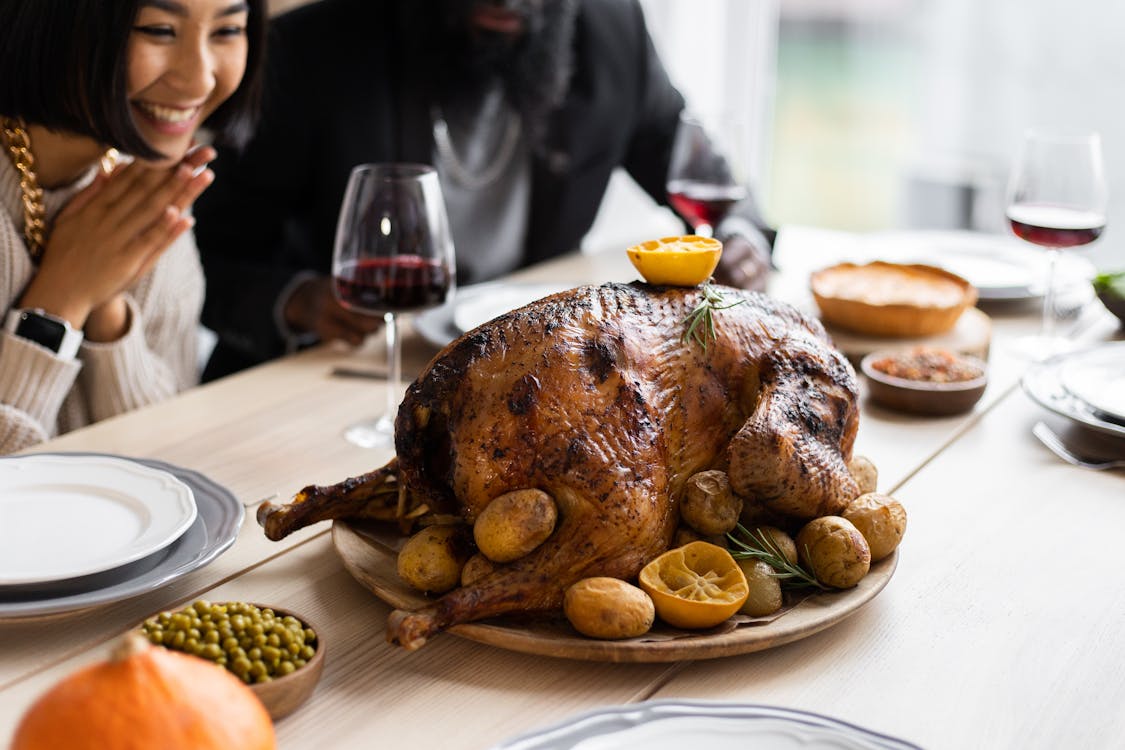
A moist and flavorful turkey is the centerpiece of any Thanksgiving feast and the best way to achieve this is to brine your turkey using this Thanksgiving Recipes. Brining is a simple process that involves soaking the turkey in a solution of salt, water and other seasonings for a period of time. This helps to draw moisture into the meat and prevent it from drying out during cooking.

There are two main types of brines: wet brines and dry brines.
1. Wet brines are made with water, salt and other seasonings such as sugar, herbs and spices.
2. Dry brines are made with just salt, herbs and spices.
Both types of brines can be effective but wet brines are generally considered to be more flavorful.
Why I love this Turkey Brine Recipe
This Turkey brine recipe is a true game changer for Thanksgiving dinner elevating the traditional turkey to a whole new level of deliciousness. Here’s why I love this recipe:
1. Effortless Flavor Enhancement: The brine’s simple combination of apple cider, citrus, brown sugar, rosemary and spices creates a symphony of flavors that permeates the turkey meat resulting in a succulent and flavorful bird. The apple cider and citrus add a touch of sweetness and tanginess while the brown sugar enhances the sweetness and complements the savory notes from the rosemary and spices.
2. Guaranteed Moisture and Tenderness: Brining is a foolproof technique for ensuring a moist and tender turkey. The salt solution in the brine draws moisture into the turkey’s cells, preventing it from drying out during roasting. This results in a turkey that is juicy, flavorful and incredibly tender with every bite.

3. A Symphony of Flavors: The brine’s symphony of flavors begins with the refreshing sweetness of apple cider and the tangy zest of citrus adding a delightful balance to the savory notes of rosemary and spices. The apple cider provides a subtle hint of acidity cutting through the richness of the turkey meat and creating a complex interplay of flavors. The citrus whether in the form of oranges, lemons or limes infuses the brine with a bright and invigorating zest awakening the palate and preparing it for a culinary adventure.
4. A Touch of Sweetness: The addition of brown sugar to the brine introduces a touch of sweetness delicately balancing the savory elements and creating a harmonious blend of flavors. The brown sugar’s molasses notes add a hint of depth and complexity while its caramelized sweetness enhances the overall flavor profile ensuring a perfectly balanced and delectable turkey.

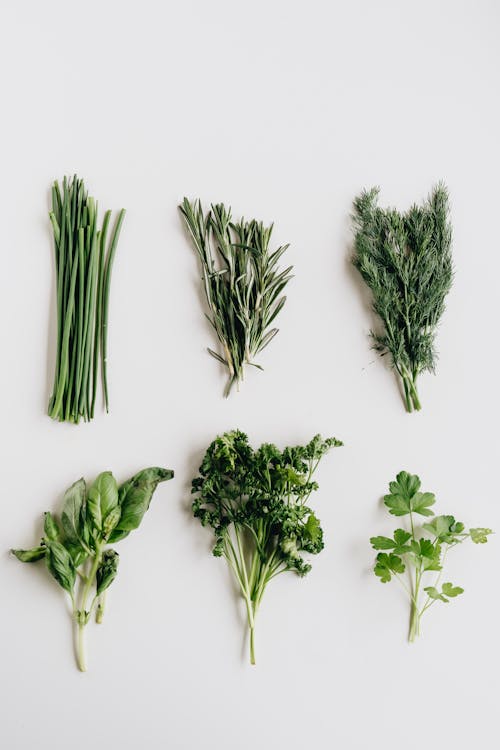
5. Aromatic Herbs and Spices: The fresh rosemary sprigs and carefully selected spices elevate the brine to new heights of flavor complexity. The rosemary’s earthy and slightly piney aroma complements the citrusy notes while its subtle bitterness adds dimension and intrigue. The spices such as peppercorns, bay leaves and thyme provide a warm and inviting backdrop, rounding out the flavor profile and creating a truly unforgettable culinary experience.
6. Ensuring Moistness and Tenderness: The brining process is not merely about flavor enhancement it is also a culinary technique that guarantees a moist and tender turkey. The salt solution in the brine draws moisture into the turkey’s cells preventing it from drying out during the roasting process. This results in a turkey that is juicy, flavorful and incredibly tender with every bite a testament to the power of brining and the exquisite craftsmanship of this recipe.

In essence this turkey brine recipe is a testament to the transformative power of culinary artistry turning an ordinary ingredient into a masterpiece of flavor and texture. Embrace this recipe and elevate your Thanksgiving feast to a level of culinary excellence that will leave your guests with lasting memories.
Should I Brine My Thanksgiving Turkey?
The decision of whether to brine your Thanksgiving turkey ultimately depends on your culinary preferences and desired outcome. While brining is not an absolute necessity for successfully cooking a turkey it introduces a transformative element to the culinary process.
By immersing the turkey in a solution of water, salt, sugar and often additional flavorings like herbs and spices the bird absorbs moisture and seasonings resulting in a more succulent and flavorful end product. The brining process essentially acts as a pre cooking marinade enhancing the meat’s ability to retain moisture and infusing it with a delightful blend of tastes that can elevate the overall dining experience.
One of the primary advantages of brining is its ability to mitigate the risk of a dry and bland turkey. The salt in the brine helps break down the muscle fibers in the meat allowing the turkey to retain more water during the cooking process.
This moisture retention not only prevents the meat from drying out but also facilitates a more even cooking resulting in a juicy and tender texture. Therefore while brining is not mandatory it serves as a culinary technique that can significantly enhance the final texture and flavor profile of your Thanksgiving turkey making it a worthwhile consideration for those aiming to impress with a moist and delicious centerpiece for their holiday feast.
What Does Brining Do To Turkey?
Brining the process of soaking meat in a saltwater solution is a culinary technique that has been used for centuries to enhance the flavor and texture of meat particularly poultry. In the case of turkey brining works its magic in two fundamental ways:
- Moisture Preservation:
Brining effectively combats the dryness that can plague roasted turkeys. The salt in the brine solution creates a concentration gradient drawing water molecules from the solution into the turkey’s muscle cells. This influx of moisture plumps up the muscle fibers preventing them from shrinking and expelling their juices during the roasting process. As a result the brined turkey emerges from the oven with a succulent juicy interior a stark contrast to the dry flavorless turkey that can result from improper cooking methods.
- Flavor Enhancement:
Beyond its moisture enhancing properties, brining also plays a crucial role in infusing the turkey with a symphony of flavors. The salt solution acts as a carrier for various aromatics and spices, allowing them to penetrate deep into the turkey’s flesh. As the turkey soaks in the brine it absorbs the essence of these seasonings resulting in a more flavorful and well rounded taste experience. The apple cider, citrus, herbs and spices impart a complex blend of sweetness, tanginess, earthiness and warmth transforming the turkey into a culinary masterpiece.
In essence brining serves as a double edged sword simultaneously combating dryness and infusing flavor ensuring that every bite of the turkey is a delightful symphony of texture and taste. It’s a culinary technique that elevates the humble turkey to a whole new level of culinary excellence making it the star of the Thanksgiving feast.
Ingredients for Wet Brine vs Dry Brine
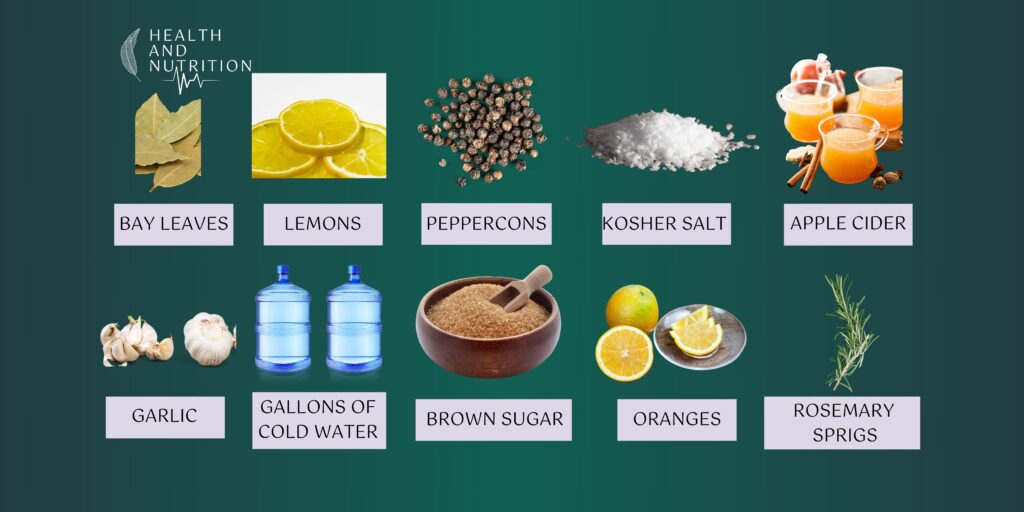
For the Wet Brine
- 2 cups apple cider
- 2 gallons cold water
- 1 1/2 cups kosher salt
- 1 cup brown sugar
- 5 cloves garlic, smashed
- 2 tablespoons peppercorns
- 2 oranges, thinly sliced
- 2 lemons, thinly sliced
- 5 rosemary sprigs
- 3 bay leaves
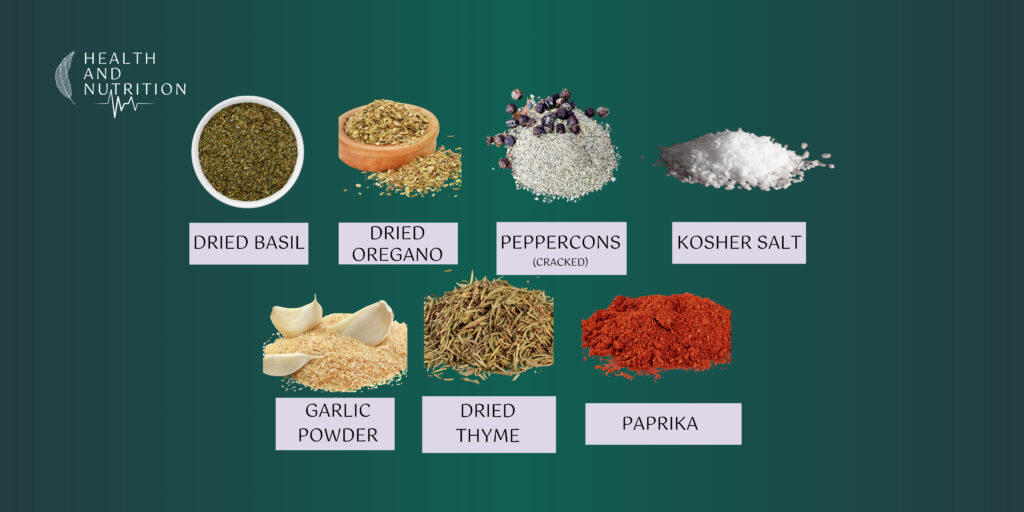
For the Dry Brine
- 8 tablespoons kosher salt
- 4-8 tablespoons freshly cracked black peppercorns
- 4 tablespoons dried oregano
- 4 tablespoons garlic powder
- 3 tablespoons dried basil
- 2 tablespoons dried thyme
- 2 tablespoons paprika
Clean and Easy Turkey Brining: The Easiest Turkey Brining Technique
There are two main ways to brine a turkey: wet brining and dry brining. (as mentioned above)
Wet Brining Turkey
- To wet brine a turkey, combine all of the wet brine ingredients in a large pot.
- Bring the brine mixture to a simmer and cook for 2-3 minutes, or until the salt and sugar have dissolved.
- Let the brine cool completely.
- Place the turkey in a large brining bag or pot.
- Pour the brine over the turkey, making sure that it is completely submerged.
- Refrigerate the turkey for 18-24 hours.
Dry Brining Turkey
- To dry brine a turkey, combine all of the dry brine ingredients in a small bowl.
- Pat the turkey dry with paper towels.
- Rub the brine mixture all over the turkey, including under the skin.
- Place the turkey in a large resealable bag or container.
- Refrigerate the turkey for 12-24 hours.
How to Store Brined Turkey
In The Best Brined Turkey Recipe we will explore how storing a brined turkey properly ensures its freshness and flavor for when you’re ready to cook it. Here’s a detailed guide to storing brined turkeys:

Refrigeration:
- For short-term storage (up to 3 days):
After brining remove the turkey from the brine, pat it dry with paper towels and place it on a wire rack in a shallow pan. This allows air to circulate around the turkey preventing it from getting soggy or developing off flavors. Cover the pan loosely with plastic wrap or aluminum foil and store it in the refrigerator.
- For longer-term storage (up to 2 days):
If you need to store the brined turkey for more than a few days it’s best to freeze it to maintain its quality and prevent bacterial growth. Rinse the brined turkey thoroughly under cold water to remove excess salt pat it dry with paper towels and wrap it tightly in plastic wrap or butcher paper. Place the wrapped turkey in a freezer safe bag or container and freeze it for up to 2 months.
Thawing a Frozen Brined Turkey:
When you’re ready to cook the frozen brined turkey thaw it slowly in the refrigerator for 24-48 hours, depending on the size of the turkey. Place the frozen turkey on a wire rack in a shallow pan to catch any drippings. Once thawed allow the turkey to sit at room temperature for about an hour before cooking.
How to Make the Best Thanksgiving Turkey from the Finest Thanksgiving Recipes
To make the Best Thanksgiving Turkey ever, be sure to:

- Embrace Freshness by Using a fresh turkey:
The journey to an exceptional turkey begins with a fresh, high-quality bird. Opt for a free range or organic turkey, ensuring that it has been raised without the use of antibiotics or hormones. Freshness guarantees a more flavorful and tender turkey, allowing its natural flavors to shine through.
- Harness the Power of Brining:
Brining, the art of immersing the turkey in a saltwater solution, is a culinary secret weapon that elevates the turkey to new heights of juiciness and flavor. The salt solution draws moisture into the turkey’s cells, preventing dryness and enhancing tenderness. Additionally, the brine acts as a flavor carrier, infusing the turkey with a symphony of aromatic herbs and spices.- Brining Tips for Success:
- Cold Water Immersion: Ensure the turkey is fully submerged in the cold brine solution.
- Brining Duration: For a 10-14 pound turkey, brining for 12-24 hours is ideal.
- Flavorful Variations: Experiment with different brining recipes, incorporating apple cider, citrus, herbs, and spices to create unique flavor profiles.
- Brining Tips for Success:
- Roast your turkey at a low temperature:
Avoid the pitfalls of overcooked, dry turkey by embracing low-temperature roasting. This gentle cooking method ensures even heat distribution, preventing the turkey’s exterior from overcooking while the interior remains perfectly cooked.- Low-Temperature Roasting Guidelines For Turkey:
- Temperature Control: Preheat the oven to 325°F (165°C) for optimal low-temperature roasting.
- Roasting Duration: For a 10-14 pound turkey, roast for approximately 3-4 hours, or until the internal temperature reaches 165°F (74°C) in the thickest part of the thigh.
- Low-Temperature Roasting Guidelines For Turkey:
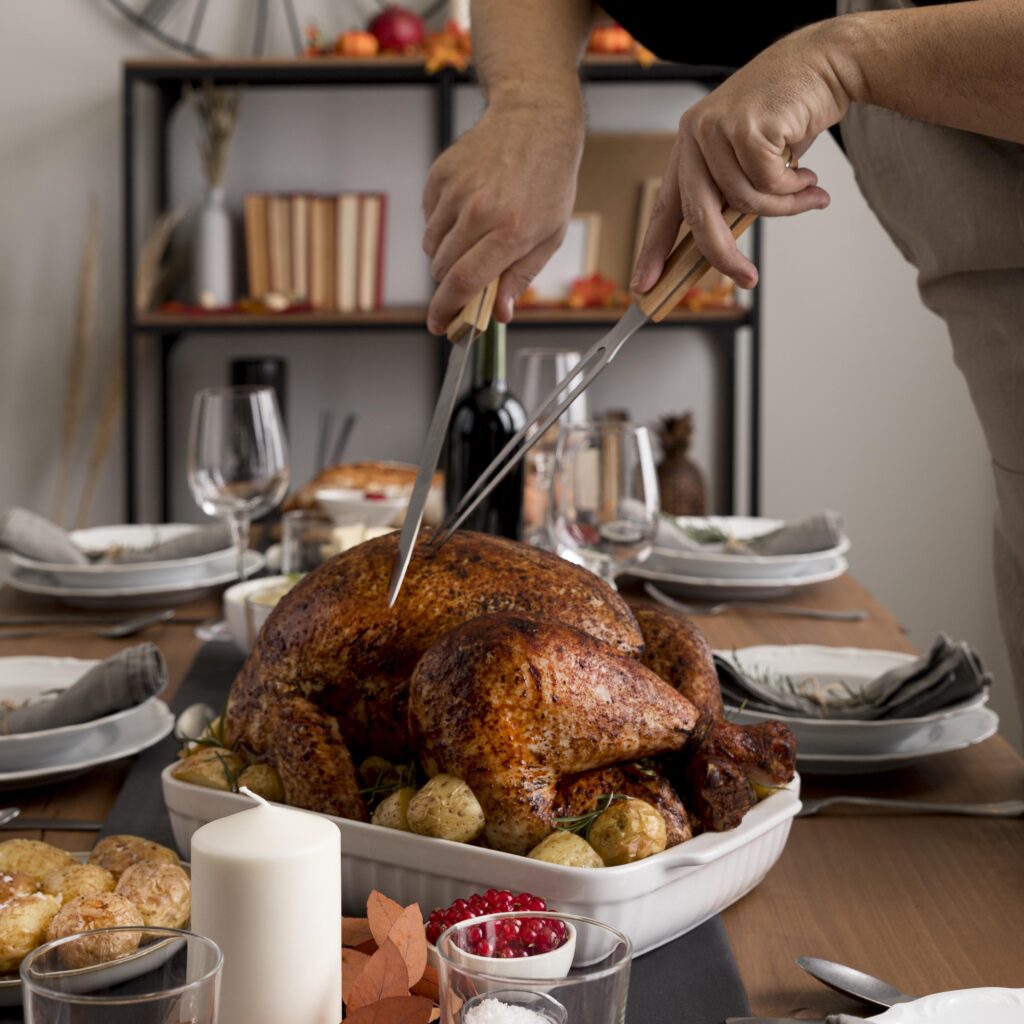
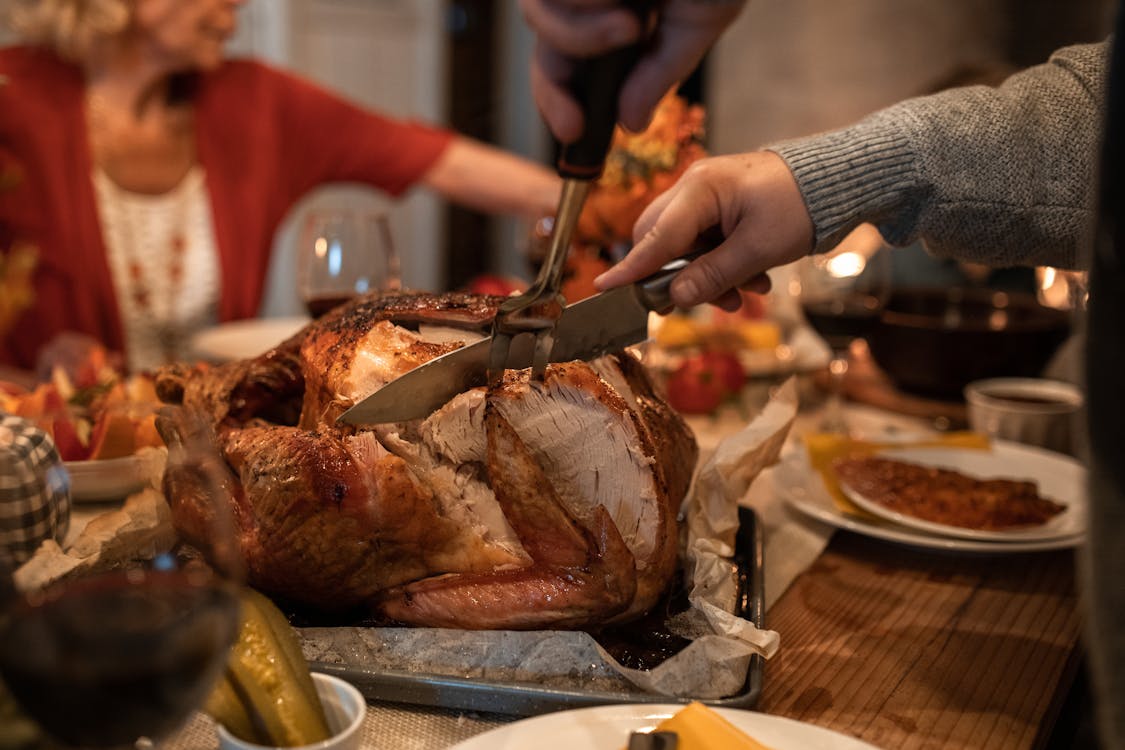
- The Art of Resting:
Once the turkey emerges from the oven, resist the urge to carve immediately. Allow the turkey to rest for 30-45 minutes, undisturbed under a loose tent of foil. This resting period allows the juices to redistribute throughout the meat, resulting in a more succulent and flavorful turkey.
By following these culinary principles, you’ll transform your Thanksgiving turkey into a masterpiece, leaving your guests in awe of its exquisite flavor, texture, and culinary finesse. Your Thanksgiving feast will be one to remember, a testament to your culinary prowess and appreciation for this iconic holiday tradition.
Tips & Tricks
- For a more flavorful turkey add extra herbs and spices to the brine.
- If you don’t have a large enough pot to hold the turkey and brine you can use a brining bag.
- To ensure that the turkey is evenly brined turn it over in the brine every few hours.
- If you are short on time you can brine the turkey for as little as 12 hours. However for the best results brine the turkey for 18-24 hours.
Flavor Variations
You can experiment with different flavors by adding different herbs and spices to the brine. Some popular additions include:

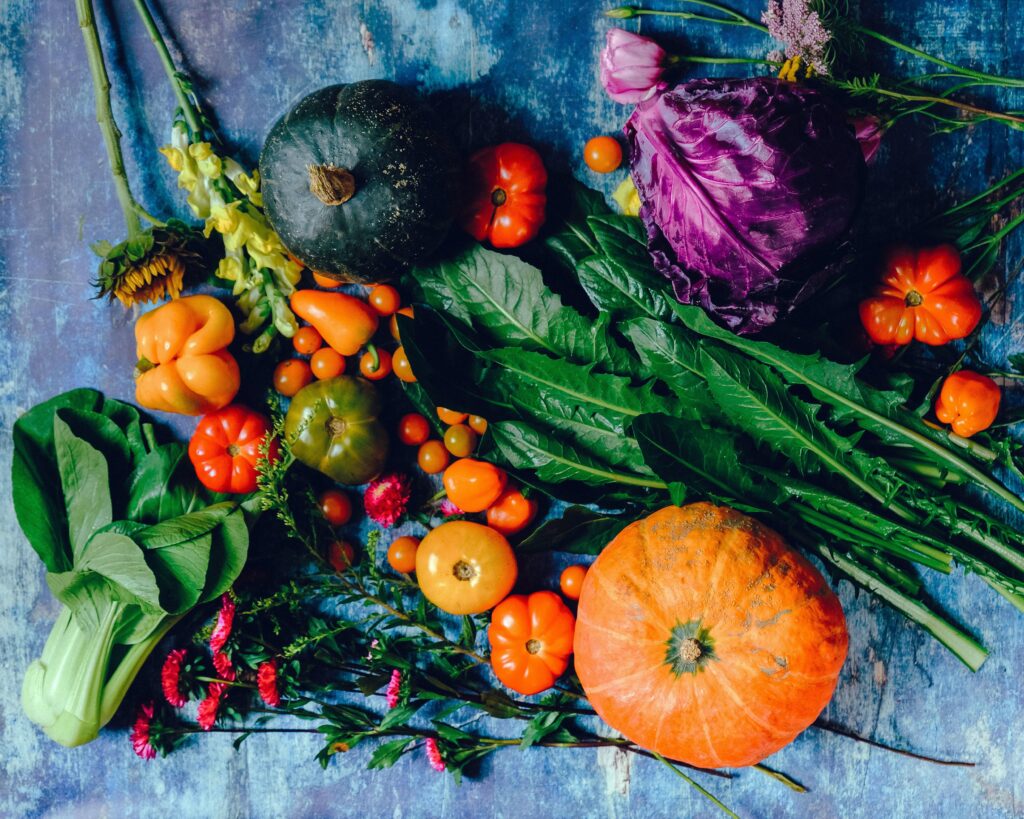
- Veggies: Add chopped celery, carrots and onion to your wet brine.
- Citrus: Boost the citrus flavor by adding an orange peel or lemon peel.
- Herbs: Add fresh sage leaves fresh thyme sprigs or allspice berries.
Serving Suggestions
Here are some of our favorite side dishes to serve with your brined turkey:
- Sweet potato casserole with marshmallows
- Southern cornbread dressing
- Slow cooker mac and cheese
- Garlic mashed potatoes
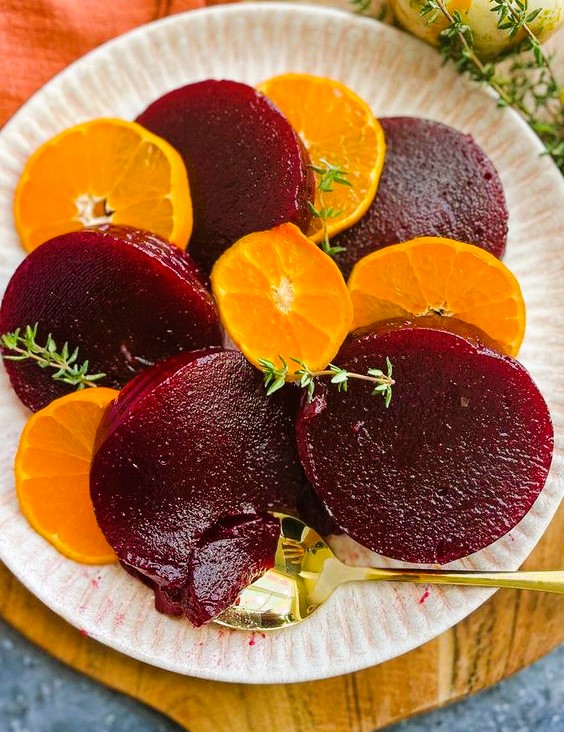
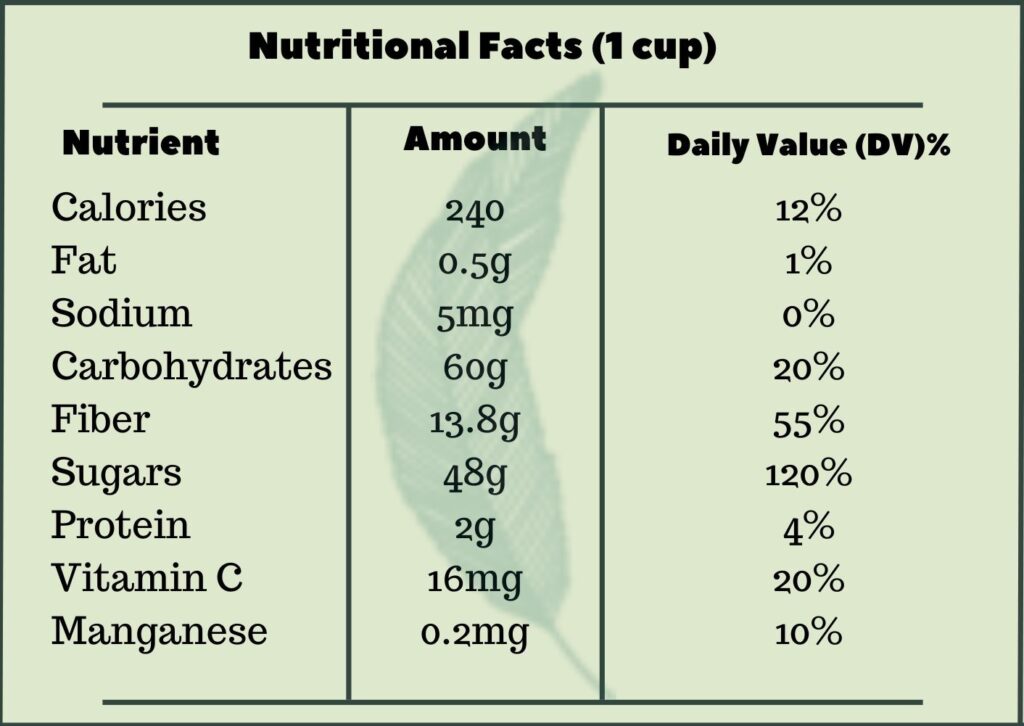
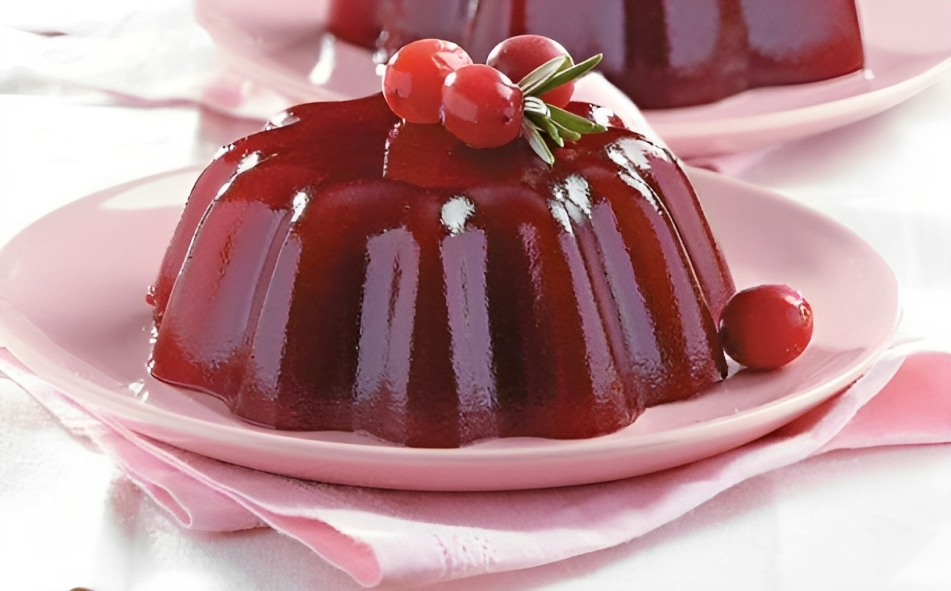
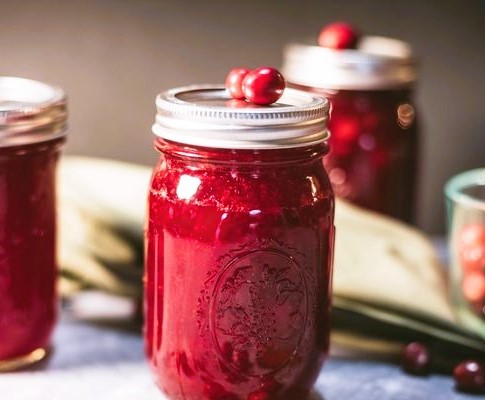
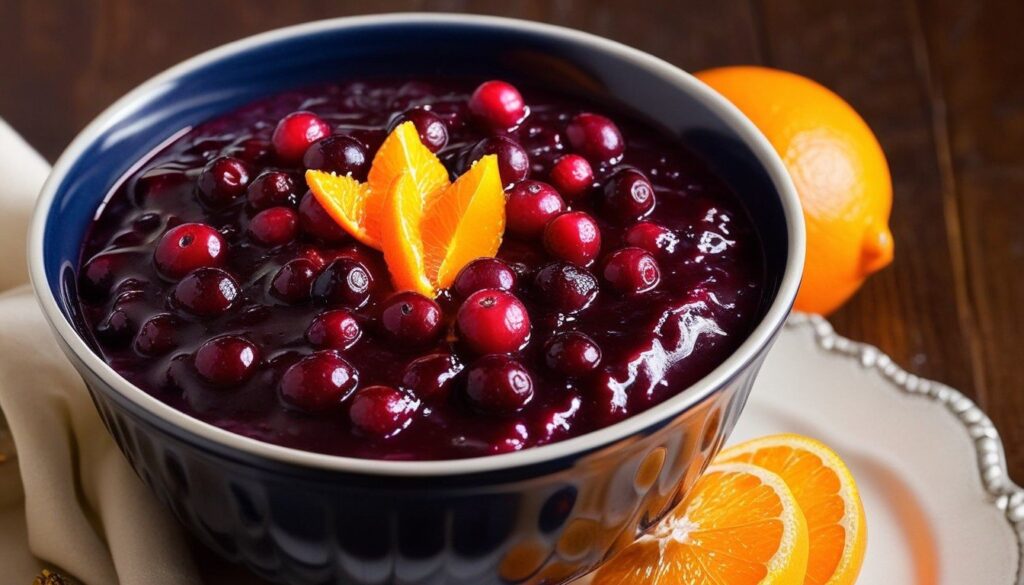
- Cranberry salad
Health and Nutrition Perspective:
While the Best Turkey Brine Recipe primarily focuses on enhancing the flavor and texture of your Thanksgiving turkey but it also contributes to a healthier overall meal. The brining process especially when incorporating aromatic herbs and spices adds a nutritional boost to the turkey.
Cajun spices known for their abundance of antioxidants not only elevate the taste but also provide health benefits. Moreover brining reduces the need for added fats or oils during roasting promoting a healthier cooking method. So not only does this culinary technique delight your taste buds but it also aligns with a balanced approach to holiday feasting. Embrace the Cajun Turkey Brine Revolution for a Thanksgiving centerpiece that’s not only delicious but also mindful of health and nutrition.
Summary
In The Best Turkey Brine Recipe we explore the transformative power of brining a culinary technique that has been used for centuries to elevate the flavor and texture of meat particularly poultry. We delve into the nuances of brining from understanding the science behind the process to selecting the right ingredients and mastering the techniques for both wet and dry brining.
At the heart of this guide lies a carefully crafted turkey brine recipe a symphony of flavors that perfectly complements the natural taste of turkey. Apple cider, citrus, brown sugar, rosemary and a medley of spices come together to create a brine that not only infuses the turkey with a delightful depth of flavor but also ensures exceptional moisture retention.
With this comprehensive guide as your culinary companion we hope to have fulfilled your quest for the best turkey brine recipe empowering you to create a Thanksgiving turkey that will be the envy of all.
YOU MAY ALSO LIKE THESE – RELATED TO THE CURRENT TOPIC
- Cajun Turkey Brine Recipe
- Turkey Brine Recipe for Smoking Pit Boss
- Buttermilk Turkey Brine Recipe
If you still have any questions, feel free to mention us in the comments section or explore the FAQs section.
OR
You can also contact us on our Facebook Page